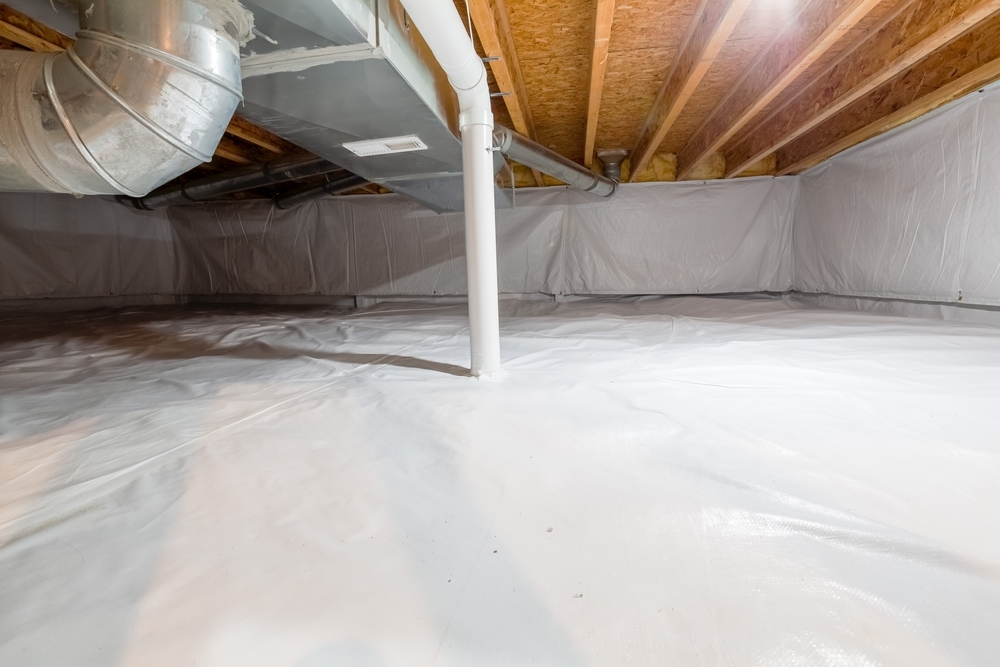
Are you considering undertaking a do-it-yourself (DIY) crawl space encapsulation project for your home? You’re likely aiming to resolve issues such as dampness, unpleasant odors, or unwanted pests. Encapsulating your crawl space can be a beneficial improvement project. But before you begin your DIY crawl space encapsulation, there are several important factors to consider, as it’s often a more substantial job than many homeowners expect.
What To Consider First
Saving money is a prominent reason many homeowners consider a DIY crawl space encapsulation. This is understandable, as home repairs can be costly. However, this particular crawl space waterproofing project presents serious challenges that require awareness. It’s more involved than just laying down some plastic sheeting.
It’s a Tough and Dirty Job
Crawl spaces are rarely inviting. You’ll be on your hands and knees, or even your belly, in these tight spots, often with limited headroom. Maneuvering large rolls of plastic, such as a heavy mil woven space vapor barrier, and other materials in such a confined area is physically demanding for any space diy enthusiast.
This type of DIY work can easily lead to bumped heads or strained backs. The environment itself presents challenges with dirt, dust, and accumulated debris. You might encounter old construction materials, pest droppings, or even mold growth on floor joists.
Working in these conditions without proper safety gear, including a quality respirator, gloves, and coveralls, poses health risks, especially to your lungs. Professional crews arrive with all necessary safety gear and experience for these environments. A DIY project means you’re responsible for sourcing and correctly using this equipment.
Dealing With Water Issues Is a Must
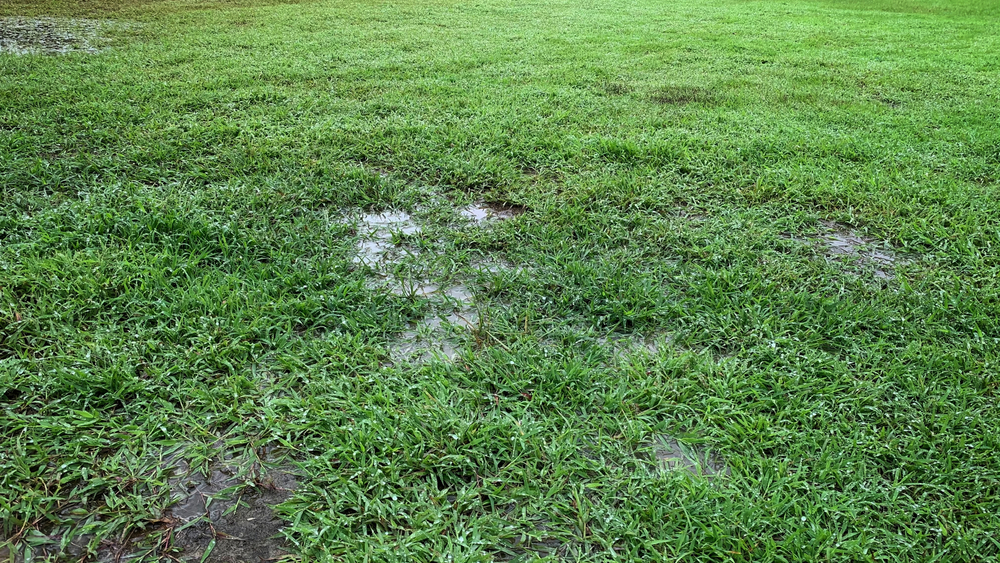
If your crawl space currently has standing water or is very damp, you can’t simply cover it with a crawl space vapor barrier. This approach is akin to bandaging a wound that requires stitches. The water must be removed first, which might involve pumping it out and identifying the source of water entry. Sometimes, sump pumps are necessary for this, especially if the water issue is persistent.
Addressing the root cause is vital, potentially requiring improvements to your foundation waterproofing or exterior drainage. After water removal, the area must be thoroughly dried. If mold is present, it needs professional-grade remediation before encapsulation can proceed to prevent further structural damage.
Trapping existing moisture and mold under your new vapor barrier will worsen the situation. Mold spores can negatively affect your health and compromise your home’s structure over time. A condensate pump might also be needed if a dehumidifier will be located in an area without a direct drain, or if the water heater in the crawl space has a leak.
Spotting Hidden Foundation Problems
While performing your DIY work, can you confidently identify signs of foundation damage? Small cracks in the foundation or slight settling might seem insignificant to an untrained eye. These, however, can be early indicators of more significant, costly structural damage or foundation repair needs later on that affect floor joists.
Many crawl space professionals also have experience with foundation issues and are trained to look for these problems during a crawl space repair. They might spot issues with old cast iron plumbing or how it impacts the crawl space foundation. Catching problems with the foundation early can save considerable trouble and expense.
A DIY effort might overlook these critical clues, leading to future complications. Addressing such issues is part of a complete encapsulation and protects your investment.
This Isn’t a Solo Project
Are you planning this DIY project entirely on your own? Encapsulating a crawl space is realistically a job for at least two people, if not a small team. Attempting to spread out large sheets of vapor barrier, such as a 20 mil woven plastic, seal seams with butyl tape, and carry equipment in a tight space is incredibly difficult alone.
Even with a helper, it can be challenging if both individuals are new to this specific work. Professionals operate in teams and have established systems to complete the job efficiently. They understand how to collaborate effectively in cramped conditions common to a crawl space.
Remember, a task that might take a professional team a day or two could extend much longer for a DIYer. This means your house and living space could be disrupted for an extended period during your space encapsulation diy project.
Vapor Barriers Don’t Replace Insulation
A crawl space vapor barrier is excellent for moisture control, blocking space vapor effectively. However, it’s not a substitute for proper insulation. If your crawl space lacks adequate foam insulation, you’ll continue to lose heat in winter and cool air in summer through your floors, leading to uncomfortable cold floors.
This heat loss forces your heating and cooling systems to work harder, negatively impacting energy efficiency and keeping utility bills high. Many local building codes mandate crawl space insulation. If undertaking a DIY crawl space encapsulation, you must research and correctly install the appropriate type of insulation, often around floor joists and sometimes even around a water heater if it’s located there.
The Hidden Costs and Lack of Guarantees
A primary motivation for a DIY crawl space project is saving on labor costs. While you avoid paying a professional crew, consider the potential costs if mistakes occur. If the space vapor barrier tears or isn’t sealed perfectly with butyl tape, moisture can reenter, negating your efforts and leading to problems like space mold.
Correcting such DIY errors often involves purchasing more materials and investing additional time, which can diminish or eliminate initial savings. This can turn your DIY job into a more expensive venture than anticipated, a potentially bad idea. Remember, a quality crawl space job is about lasting results and protecting your home’s structural integrity.
Furthermore, professional installations typically include a warranty. If issues arise with their workmanship or materials, they’ll return to rectify the problem. With a DIY job, you bear all responsibility. There’s no warranty if your encapsulation efforts fail over time, leaving you to handle further repairs yourself.
Will Your DIY Job Really Boost Home Value?
A professionally encapsulated crawl space can be a significant selling point for your home. Potential buyers appreciate knowing this often-overlooked area has been properly secured. It signals a well-maintained home protected from moisture, pests, and harmful soil gases.
Therefore, a quality crawl encapsulation can positively influence your home’s market value. However, a DIY crawl space encapsulation job might present a different picture. If the work doesn’t meet professional standards, prospective buyers might view it as a project they’ll need to redo.
Weighing the Pros and Cons: DIY vs. Professional Help
So, should you attempt a DIY crawl space encapsulation or invest in hiring professionals? Making an informed decision requires weighing several factors for your space encapsulation diy project.
Opting for a DIY approach might appear to save money initially. There’s also a sense of accomplishment in completing a significant home improvement project yourself. However, the work is physically demanding, dirty, and carries risks if you lack experience, especially when dealing with potential space mold or structural damage to floor joists. You’ll need considerable time and patience, and there’s a possibility of overlooking critical issues such as foundation repair needs or effective water management, which could make it a bad idea in the long run if the main steps involved are not followed correctly.
Hiring professionals for your encapsulation generally involves a higher up-front cost due to labor and expertise. But these experts bring experience, specialized tools, and efficient teamwork to the project. They’re equipped to handle unexpected problems, make certain the encapsulation meets local building codes, and usually provide a warranty for their work, offering peace of mind. A professionally completed, high-quality crawl space encapsulation is also more likely to add tangible value to your home and effectively address issues such as humid air and soil gases, unlike some DIY crawl space efforts that might fall short.
Conclusion
Carefully considering a DIY crawl space encapsulation is very important. While saving money and the satisfaction of a personal home project are attractive, this specific job presents numerous potential difficulties. The physical exertion, safety concerns, and the risk of improperly addressing moisture or structural damage mean many things can go wrong with DIY crawl space encapsulation.
You want the project performed correctly the first time to protect your home for years. Achieving a complete encapsulation that truly safeguards your home’s foundation and improves your living space often means seeking professional assistance. For an effective, long-lasting solution that deals with issues from humid air to cold floors, consulting with experienced crawl space repair specialists is generally the most sensible approach to make an informed decision and prevent future problems.